Here we will discuss how to install Java on a Windows 7 64-bit machine. The steps are not exactly same but more or less same for any other Windows version or other operating systems. The major java version used Java SE 6 and at the time of writing this topic, the Update 37 is the latest minor version. Please note that the steps are not exactly same but more or less similar for 'Java SE 7' or any other update of Java.
NOTE : The links provided are also at the time of writing this topic and are subject to change.
Steps for downloading, installing and configuring Java on Windows 7
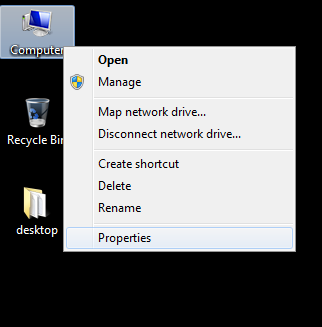
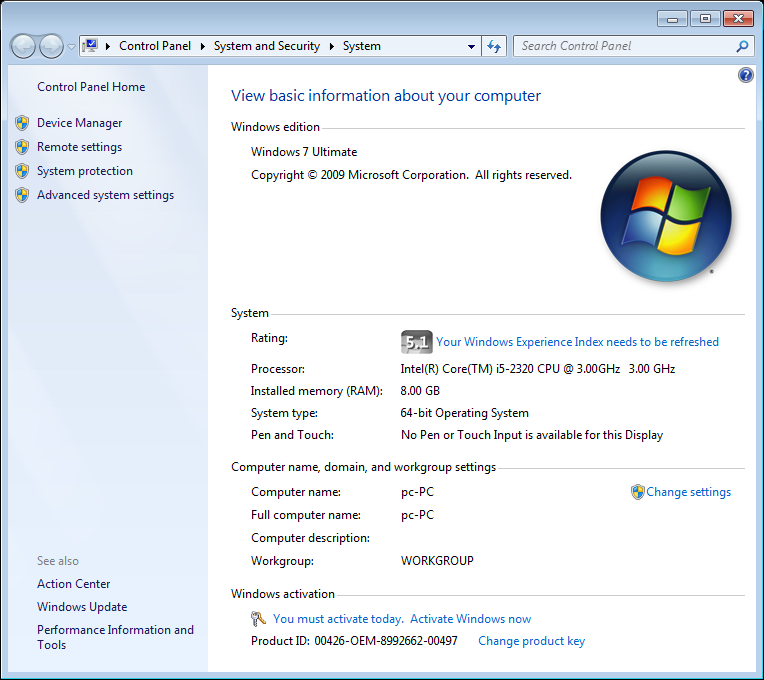
- 1. Identify your Windows Operating System: To find the operating system version, go to the 'Desktop', right-click on 'Computer' and choose 'Properties'. It will be shown under 'System'-> 'System Type'. Check if it is 32-bit or 64-bit.
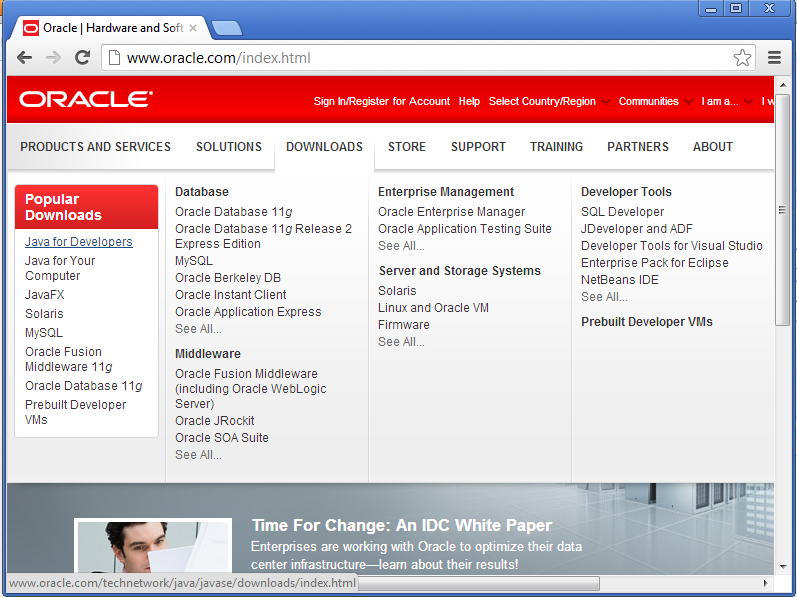
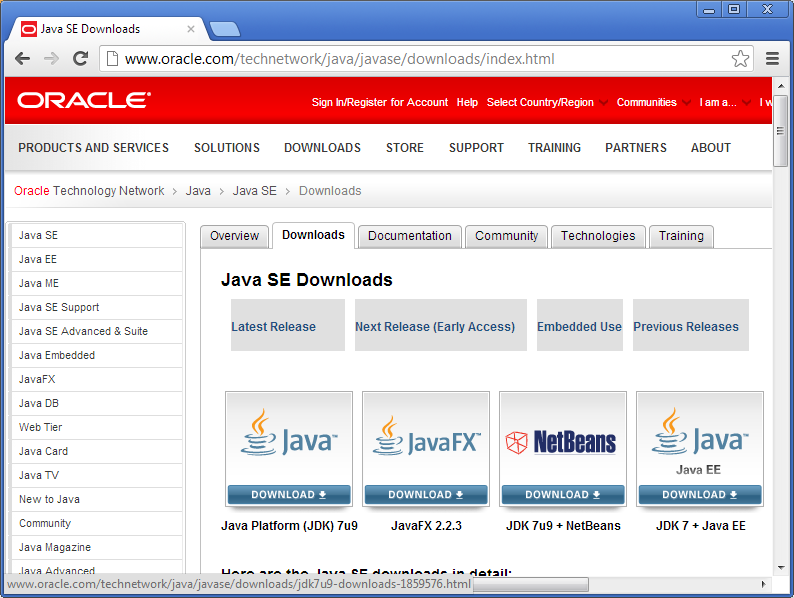
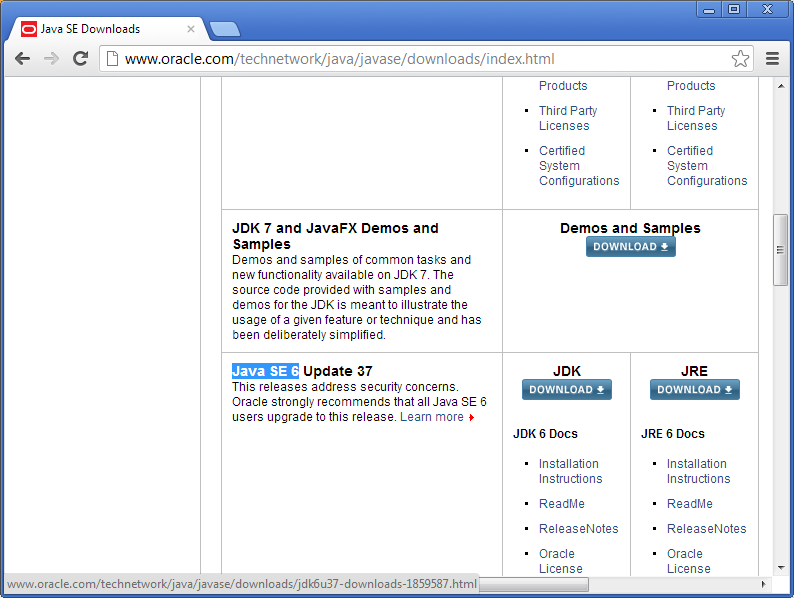
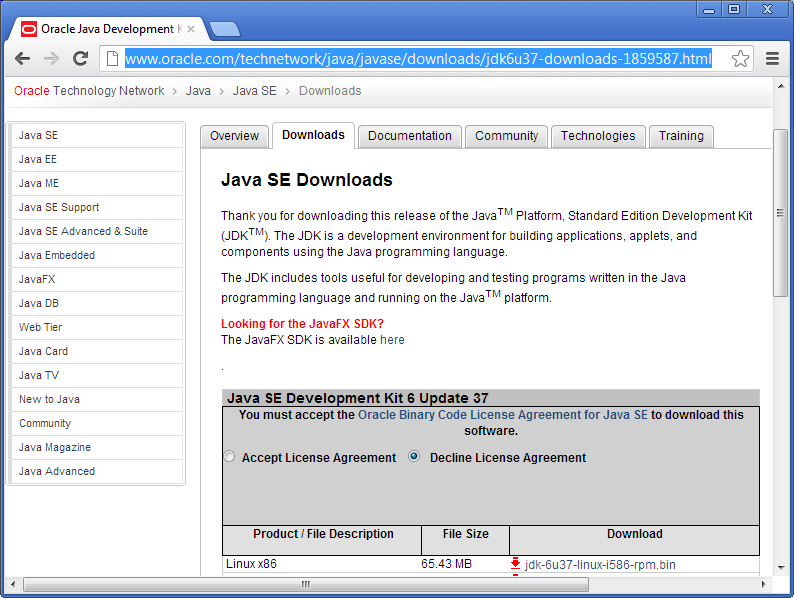
- 2. Find Java Installable at Oracle site: Go to the url www.oracle.com. Click on the link 'Java For Developers' under 'Downloads'->'Popular Downloads'. That takes it to a next page. Scroll down on the web page to find 'Java SE 6 Update 37'. (The update number 37 could be different when you are downloading it.) Click on the 'Download' button below JDK and DO NOT use the link below JRE.
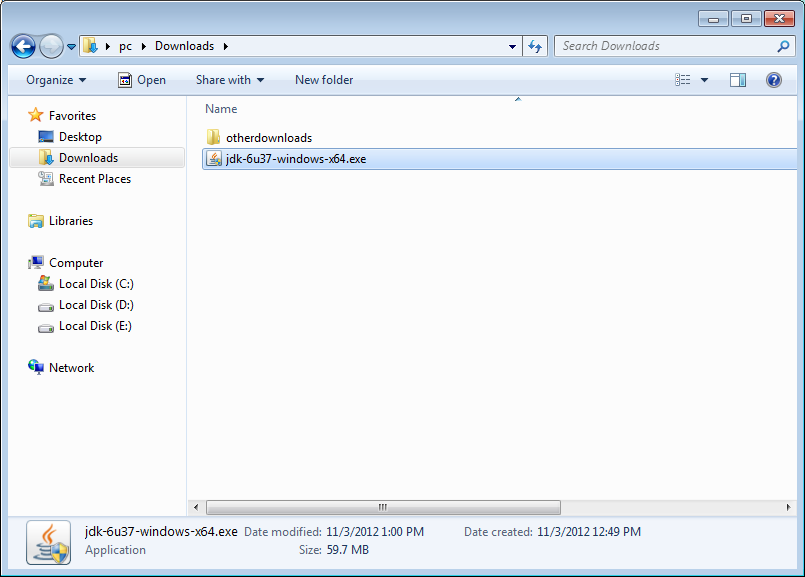
- 3. Accept the agreement and download the installable: On the download page, select 'Accept License Agreement'. Scroll down to find the installables for various operating systems. If you have Windows 32-bit Operating System, choose the exe for 'Windows x86' and the file name will end with '-i586.exe'. If you have Windows 64-bit Operating System, then choose the exe for 'Windows x64' and file name will end with '-x64.exe'. Click on the appropriate link and it will automatically start downloading the exe. It might take up to 15-20 minutes depending upon your internet speed.
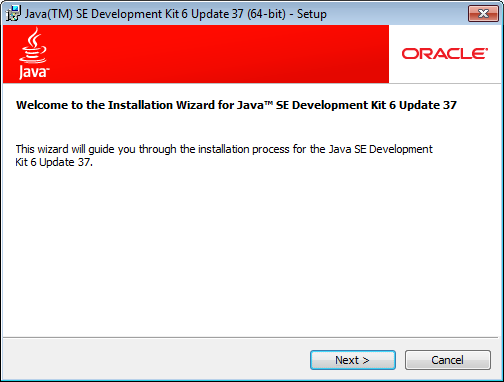
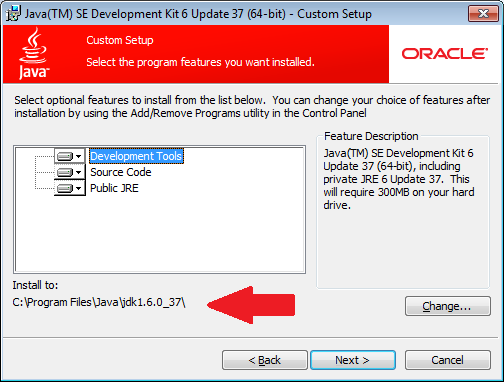
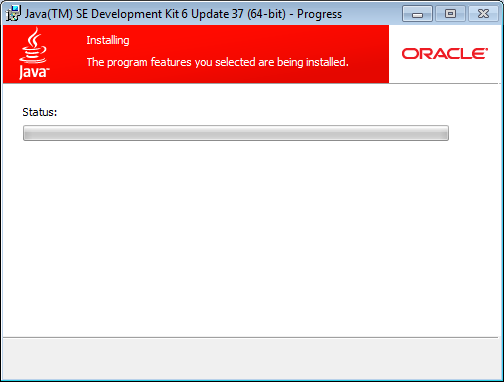
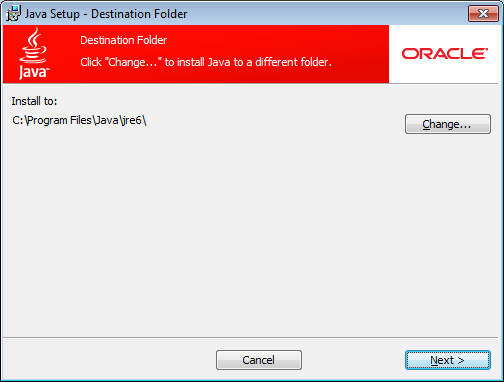
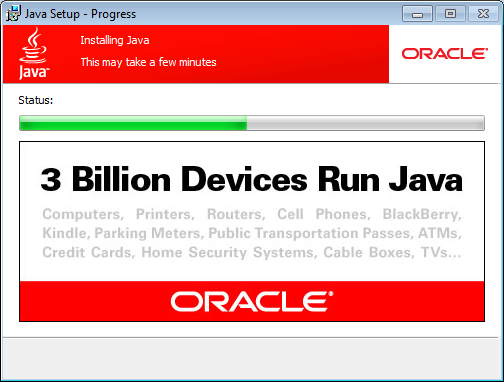
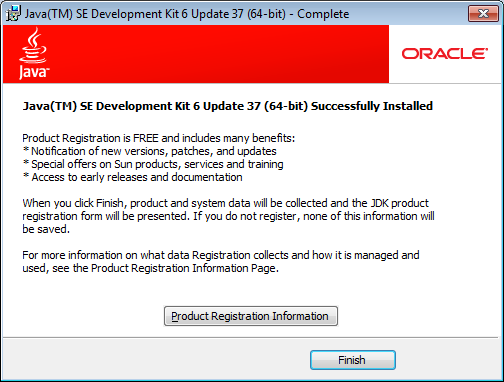
 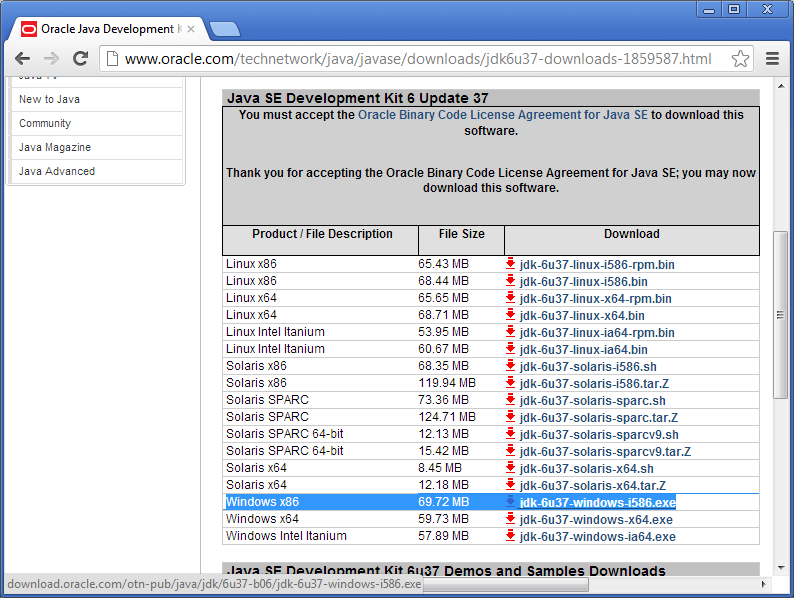 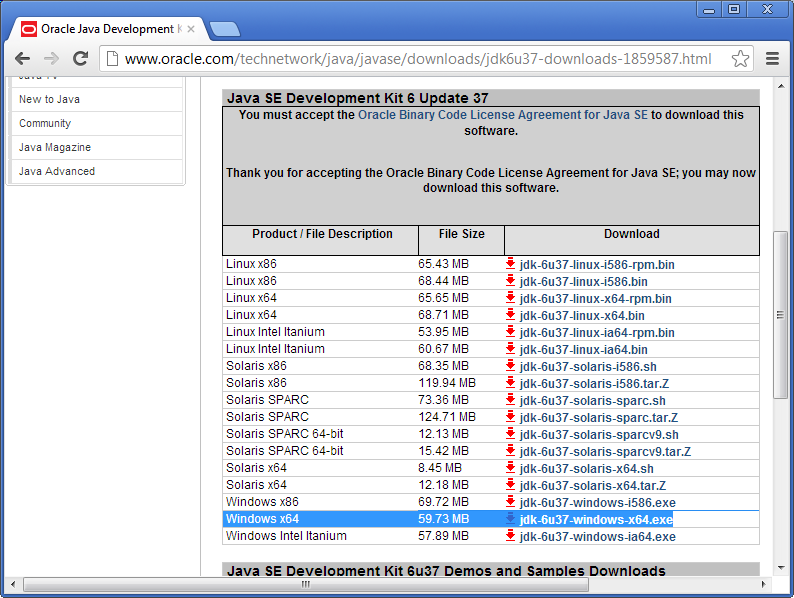 - 4. Run the downloaded installable: Locate the downloaded installable on your machine and run it by double clicking it. Click 'Next' on the 'Welcome Screen'. The next screen will be 'Custom Setup'. On this screen the 'Install to' directory is shown, please make a note of the path using pen and paper or take a screenshot or type it out in notepad. This path is SIMILAR and MIGHT NOT be exactly same as 'C:\Program Files\Java\jdk1.6.0_37'. This path is needed in later steps. Click 'Next' on all the rest of the screens. The process might take 3-5 minutes and finally the Complete screen with 'Finish' button is shown.
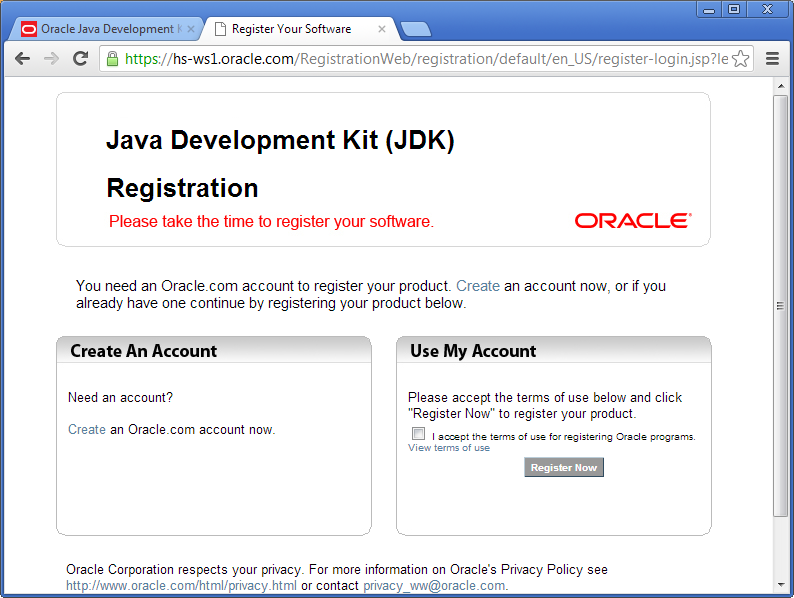
- 5. Register your product: When you click 'Finish' on the Complete Screen, it will launch a Oracle registration page in your browser. If you do not have a 'Oracle' account, please create and register your product. The registration helps in notifying with latest versions, patches and any software updates. It also provides special offers on Sun products, services and training.
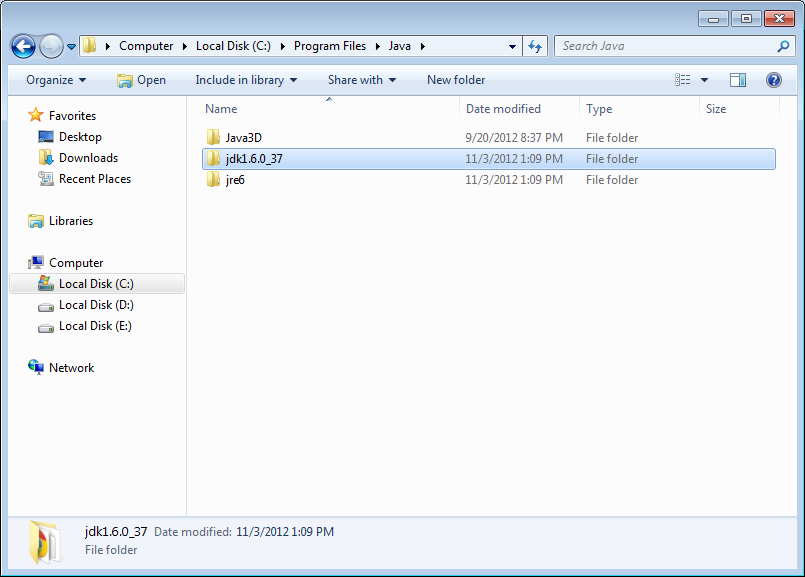
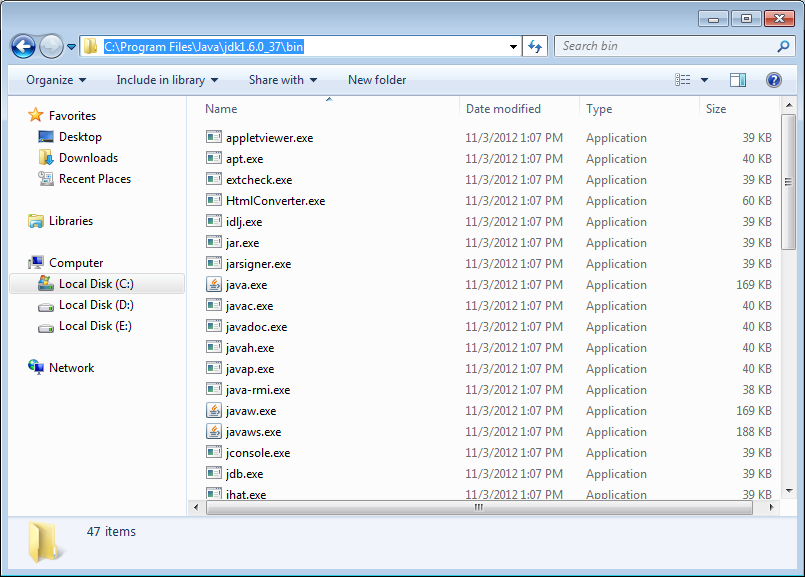
- 6. Check the installation directory: Please go to the installation directory in windows (or file) explorer. This is the same directory which you have noted down in Step 4. You should see the directories 'jdk1.6.0_37' and 'jre6' under it. Go into the directory 'jdk1.6.0_37' and go into the directory 'bin' inside it. You should see the list of all the small applications which got installed as part of the Java. Now copy the complete directory name from the top (directory) box in the explorer. It will be similar to C:\Program Files\Java\jdk1.6.0_37\bin.
  - 7. Configure the PATH variable: (PLEASE NOTE THAT THIS IS A CRUCIAL STEP AND ANY MISTAKES HERE COULD PREVENT YOU FROM USING JAVA.)
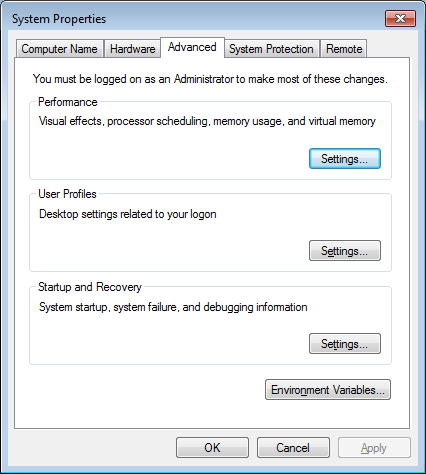
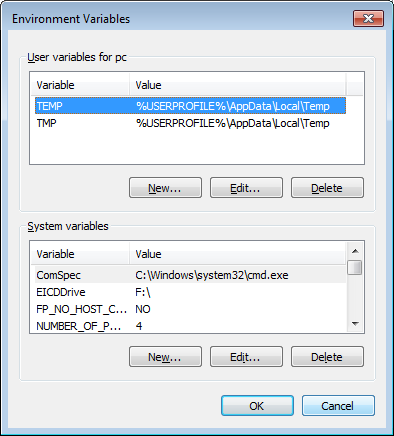
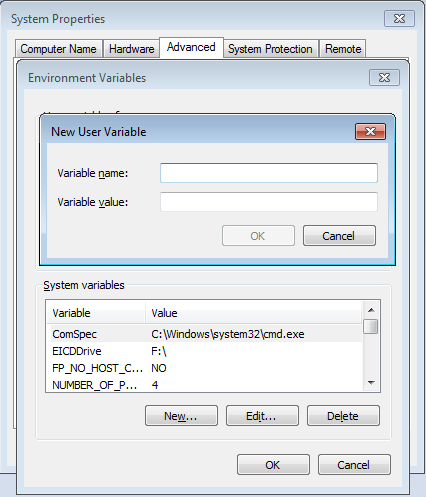
Launch the System Properties dialog again, and now go to 'Advanced System Settings' on the left side. It launches the 'System Properties' dialog, in the 'Advanced' tab, at the bottom there is 'Environment Variables' button. Clicking on that will launch one more dialog. That dialog has two sections - 'User variables for ...' or 'System Variables'. In the 'User variables for ...' section look for the variable PATH. If does not exist, then click on the 'New' button just below that section. If it already exists, click on the 'Edit' button.
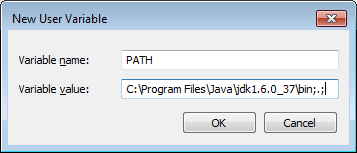
In the dialog that opens up, give the 'Variable name' as PATH (All the characters in variable PATH should be in CAPITALS, avoid using Path or path). Give the 'Variable value' as the path copied in Step 6, followed by ;.; (i.e. semicolon, dot and semicolon). There should be no spaces in between. e.g., if the path copied in Step 6 was C:\Program Files\Java\jdk1.6.0_37\bin, the value will be C:\Program Files\Java\jdk1.6.0_37\bin;.; . If you are editing an existing variable, then insert this text before the existing value. Click OK on the 'New User Variable' dialog, 'Environment variables' dialog, and 'System variables' dialog, to save the changes made.
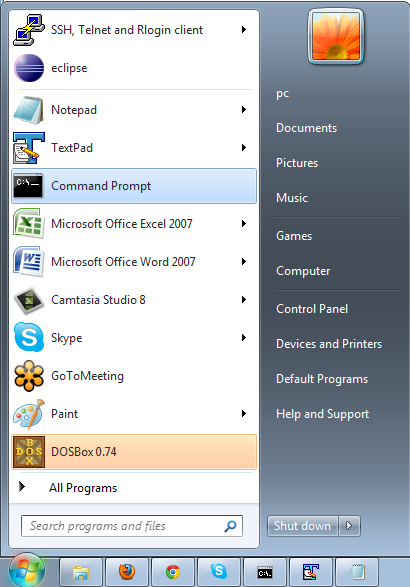
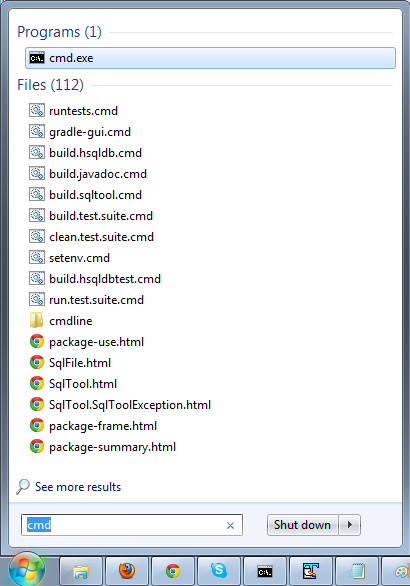
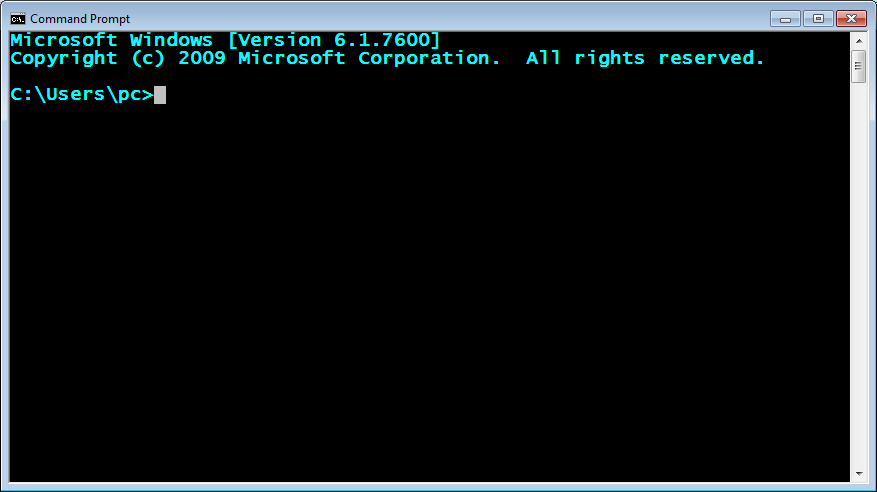
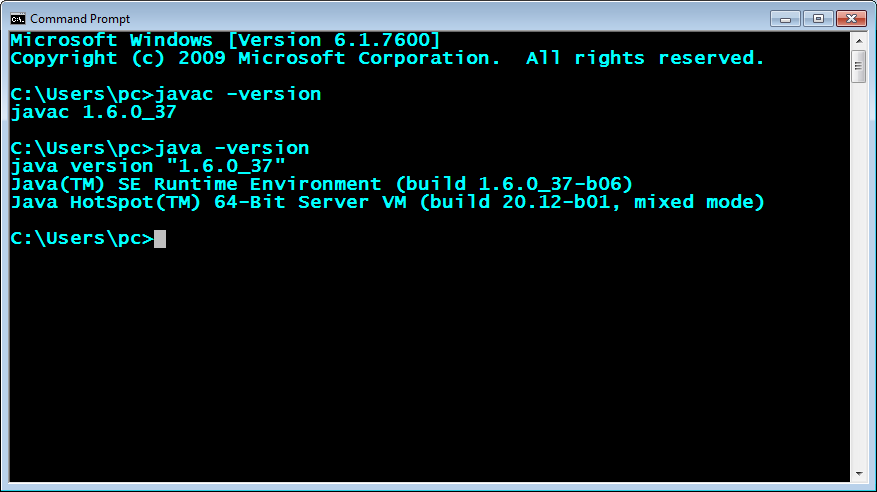
      - 8. Run java and javac commands from command prompt: Launch the command prompt using 'Start'->'Command Prompt' or using the 'cmd' in the 'Start' program search. When the command prompt launches, run the command 'javac -version' and 'java version'. If they print the recently installed java version details, then the installation is complete.
Or
With this the installation of Java on your local machine is complete. Now you are ready to write java programs locally. Go to How to Compile and Run Java Program In Cmd Prompt for more details.
|


